Overview
The Honeybadger integration allows you to set preferences about when and where you want errors to be sent to Shortcut as Stories.
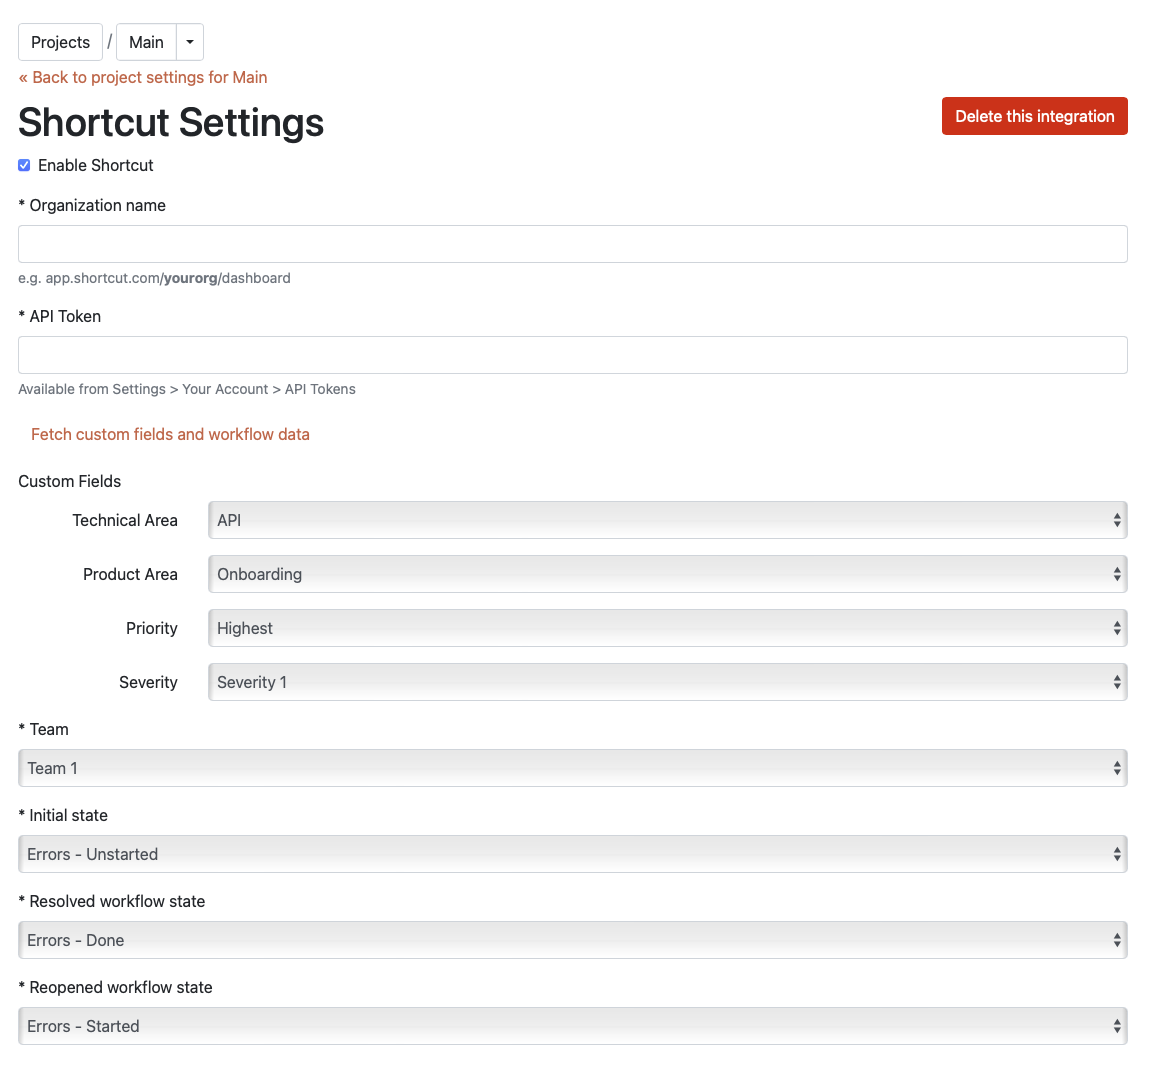
Setting Up the Integration
To set up this integration, follow these steps:
- Go to your Honeybadger project’s settings
- Scroll down to the Integrations section
- Set your Workspace - This is the name of the Workspace that you created when you set up your account. You can find this immediately after the domain name in the URL (e.g., for
https://app.shortcut.com/honeybadgerthe Workspace name ishoneybadger) - Set the API Token - Your API Token can be found in the Shortcut UI by clicking on Settings > API Tokens. Choose a name for your token (like Honeybadger) and then click Generate Token. Copy the highlighted token and paste it in the API Token field.
- Fetch project info - Click the Fetch Project Info button to make a request to the Shortcut API to get a list of your Shortcut Projects and Workflow States. This will populate and enable the remaining checkboxes on the form.

Each Honeybadger project is associated with one Shortcut project. You can also choose which of your Shortcut workflow states will be chosen for Stories when they are marked as resolved or unresolved. The Stories will be updated to those states if you also enable the respective Error Events options.
Creating Stories with the Integration
Honeybadger users can create Stories in Shortcut by clicking the Create Story button on the error detail page in the Honeybadger UI. By default, these Stories will be created as the Shortcut user whose API Token is configured in the integration settings.
Users can have Stories associated with their own Shortcut account by getting an API Token as described previously and adding it to their authentication settings.
This integration is managed by Honeybadger, so you will need to contact them with any issues.